Tuesday, December 30, 2014

Happy New Year 2015

Dear friends, I wish you spend a great year ahead that starts with happiness and ends with that too!  
Happy New year 2015.


Wednesday, December 24, 2014

Tuesday, November 18, 2014

Cranberry Jam

It's Christmas season, and I recently have been seeing cranberries all over the supermarkets here in Singapore. I have never tasted fresh cranberries before, so when I saw them in Mustafa (of all places)…I immediately grabbed a bag and headed home. I was expecting it to taste sweet. But they tasted so tart, and I couldn't really eat it on its own.

So the bag was lying in my fridge waiting to be baked into breakfast muffins. But I never got around to bake anything this week.  And a can of jam sounded like the yummiest way to use up these fresh berries.


This ruby red spread is so refreshing and delicious...slathered on a piece of toast, it makes a perfect breakfast! Moreover, Cranberries are powerhouse of Vitamin C and antioxidants. Now you don’t need any more excuse to try out this super quick, sugar-free preserve this Christmas season!


Cranberry Jam
Yields: About 1 ½ cups of jam

Ingredients:
  • 3 ½ cups – Cranberries
  • ¾ cup – Honey
  • 2 tablespoons – Raw Sugar (optional)
  • 1 tablespoon – Vanilla essence

 Directions:
  • Heat all the ingredients in a pan and keep stirring.
  • Keep cooking for about 10 minutes until all the berries break down and the mixture thickens. Do not overcook.
  • Transfer the contents to a glass jar, and store it in the refrigerator for up to a month.

 NOTE:
  • If you prefer a smooth texture for your jam, just blend the mixture in a blender, while the jam is still warm. And then store it in a glass jar.
  • I skipped this step, because we like coarse texture for our spreads.


Tuesday, October 21, 2014

Happy Deepavali!

Deepavali wishes to my dear readers! May the festival of light bring you joy and prosperity.

I made milk pedas, thenkuzhal and ribbon pakodas for this years celebration. (Recipes to be posted soon). Enjoy your day and the yummy sweets and snacks! 


Monday, October 13, 2014

Chocolate Ganache Cake

This was the cake I baked for my hubby's birthday last week. He is a huge chocolate fan. So a cake smeared with chocolate ganache sounded like a good idea! 


I baked 3 plain vanilla cakes with a 6" pan. And layered it using chocolate ganache as filling and frosting. Making the chocolate ganache is as easy as eating it :) and it also holds well in the humidity.


Chocolate Ganache Recipe:
Directions :
Thickened Cream - 1 Cup
Baking chocolate/semisweet chocolate chips - 2 Cups
Unsalted Butter - 1 Tablespoon(Optional)
Vanilla Extract - 1/2 Tablespoon

Method:
  • Place the chocolate in a heat-proof bowl. If using chocolate bar, chop into small pieces.
  • Heat the cream on stove until boiling.
  • Pour the hot cream over the chocolate and mix well. 
  • Make sure all the chocolate has melted without any lumps.
  • Add the softened butter and vanilla to the chocolate and  mix well. (If any lumps prevail, heat it for a few more seconds in the microwave, and mix well.)
  • Cool the ganache in the fridge for a couple of hours.
  • Whisk the thickened gaanche with a electric beater before use. 

Note:
  • The ratio of the cream can be increased to make a thinner ganache that can be poured over your cake to form a glossy finish.
  • I used Wilton 2M icing nozzle for the rosettes on the top of the cake, and used the back of a palette knife to make the stripes along the sides of the cake.

Friday, September 19, 2014

Houses & Hearts-Sugar Cookies

Happy Weekend everyone! I was thinking of making forsted cookies for Diwali this year. But then, I just got these cute little house shaped cookie cutter, and I desperately wanted to try them out! 


I am a part of this lovely cooking club, where we do monthly meet ups. So I decided to bake them some cute cookies for this month's meet up. I was very nervous about the cookies retaining their shape while baking...so after a little trial and error I finally got them to retain their shape. This was also my first time piping on cookies.I know that I still need a lot of practice. But they tasted good, and the colors looked so pleasant :)


So look out for more sugar cookies coming your way dear friends! 


Monday, June 9, 2014

Cheese Quesadilla

Last weekend we had a few friends over for lunch.  We really loved hosting these lovely friends whom we lost to Ireland 10 years back! It was so much fun catching up…and we chatted till our jaws hurt! This was a pretty last minute lunch date so I didn't have time for any elaborate south Indian style lunch menu. But there were 4 kids coming, so I wanted to make something quick and yummy.

I made some marshmallow pops (recipe to be posted soon) and these quesadillas. And I couldn't believe how fast these got gobbled up! The quesadillas where slathered with sauce filled with cheese which are always a super hit! For the recipe post I added some chicken sausages. But if your guests are vegetarians like mine were, then you can totally omit the chicken and just go with the veggies.


So now you have this super quick appetizer recipe to wow you “mini” guests! Tried and tested! The kids loved the quesadillas so much that they forgot the rest of the dishes on the table!


Cheese Quesadillas
Serves: 4
Recipe Adapted from budgetbytes.com

Ingredients:
Tortillas – 4 (I used MISSION Multi-grain Tortillas)
Mozzarella Cheese – 2 cups (shredded)
Pasta Sauce – 2 cups (I used PREGO Pasta Sauce)
Onion – 1 Med Size (thinly sliced)
Capsicum – 1 Med Size (thinly sliced)
Olives (black or green) – 1 cup (sliced)
Chicken Sausage (optional) – 2 (thinly sliced)
Oil – for sauteing

Directions:
  • Slice all the veggies, drain the olives and keep aside.
  • Add a little oil to a pan and saute the thinly sliced chicken sausage for a few minutes until cooked. Drain on paper napkins.
  • Take one tortilla wrap and spread ½ cup of pasta sauce on it.
  • To this add a little capsicum, onions, olives and the sauteed chicken sausage. Then add ½ cup of mozzarella cheese and fold the tortilla in half.
  • Heat a flat based pan with a little oil and cook the tortilla until brown and crispy on both sides.
  • Cut into wedges and serve warm.

 NOTE:
  • You can prepare the tortillas a couple of hours beforehand. When your guests are ready to eat, cook and serve the quesadillas immediately, otherwise they tend to get soggy.
  • You can add or omit any of the toppings you want to suit your needs. 


Thursday, May 29, 2014

Paneer Veg Lasagna

This yummy lasagna was our dinner a couple of days ago. My book club ladies are all quite the bakers! So in the midst of reading books, we are constantly on a bake off and swapping recipes. During one of our WhatsApp chatting sessions, my beautiful friend Maria passed me this great tried and tested Veggie Lasagna recipe. This recipe was originally from allrecipes.com, but I totally Indianised it! 
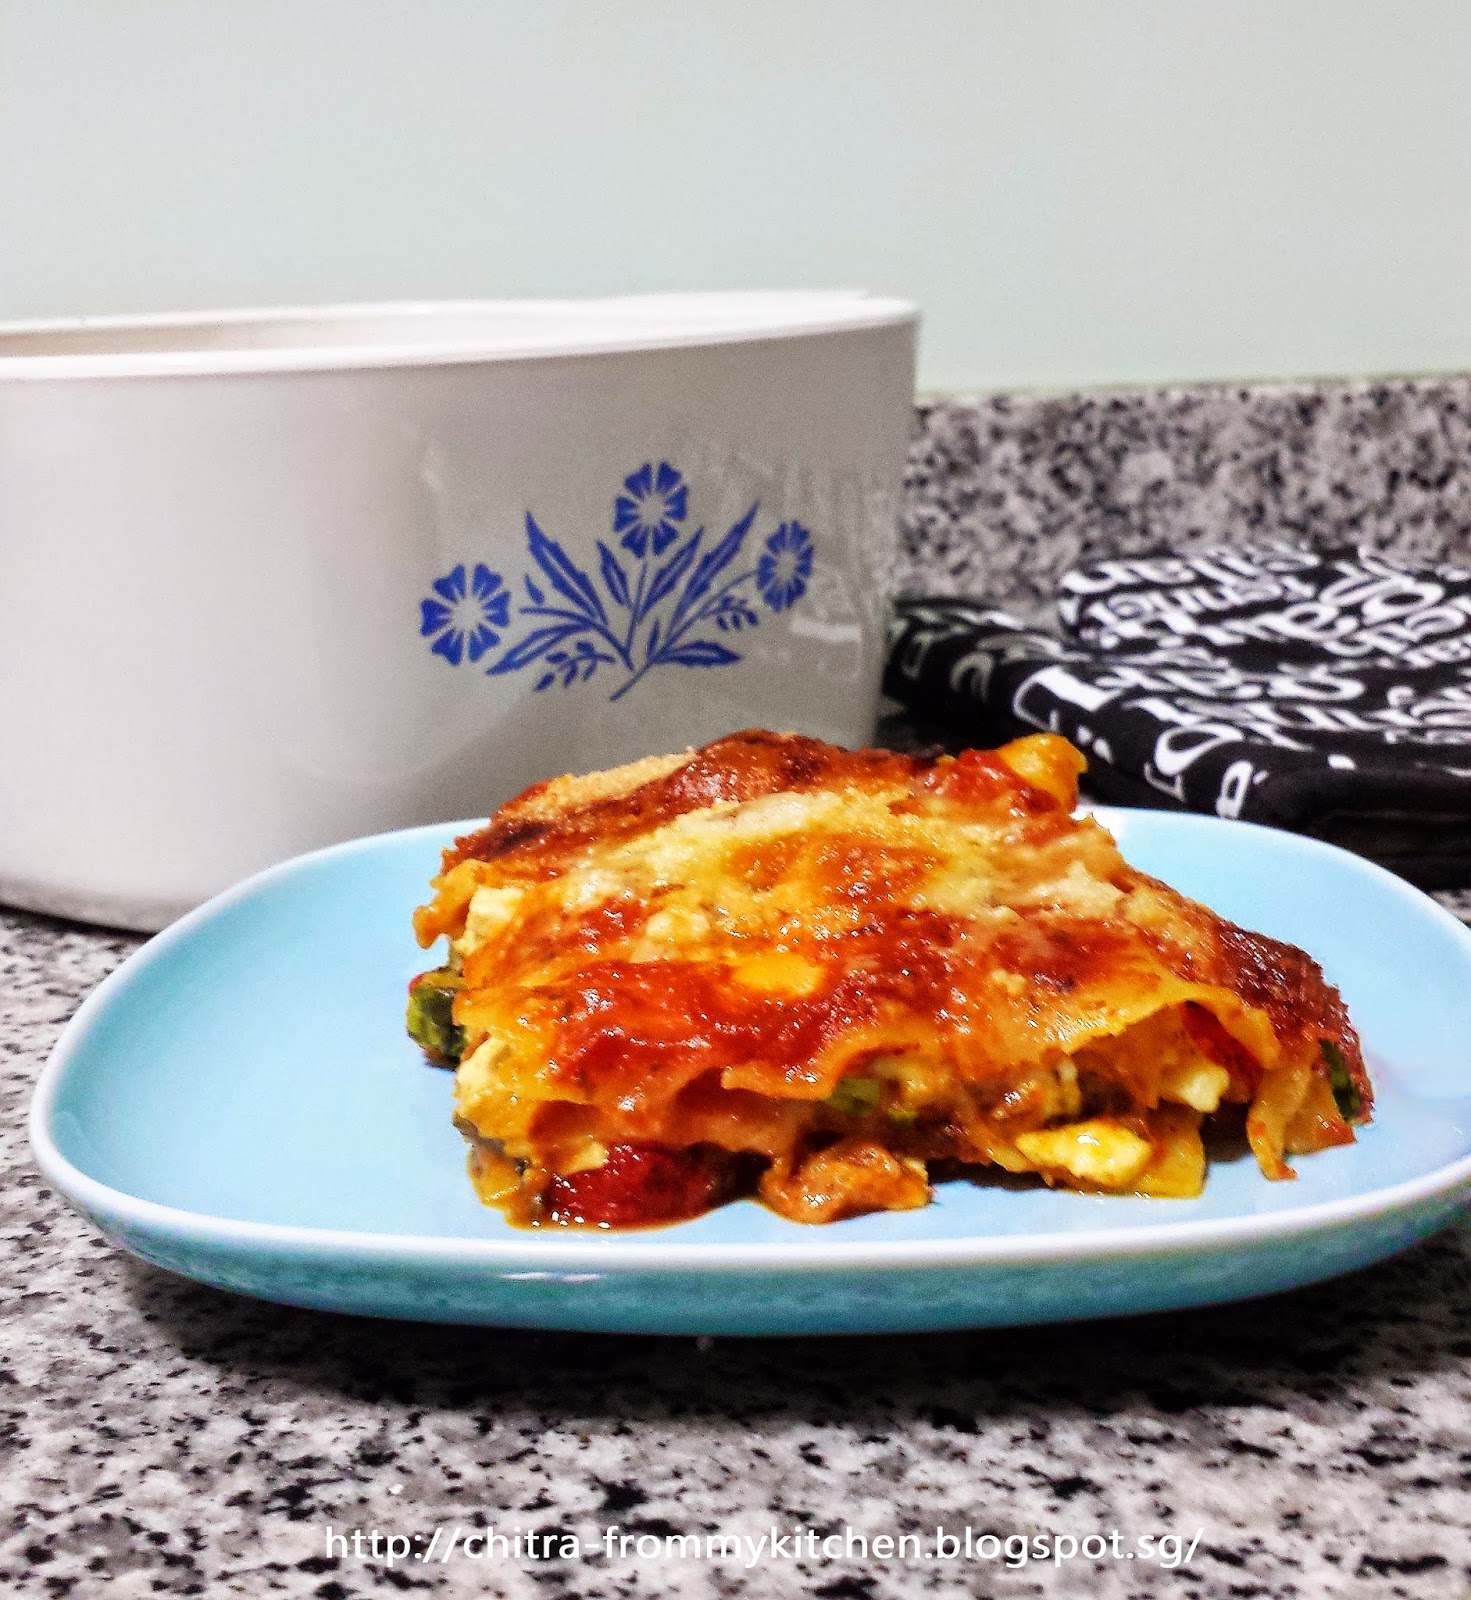
There was way too much cheese in the recipe, so I used up some paneer and veggies and whipped up this cheesy Paneer Veg Lasagna.
So go get your lasagna noodles and start layering! Add whatever veggies you like and don’t forget to sauce it up!
Paneer Veg Lasagna
Serves: 4
Ingredients:
Lasagna Noodles – 9 sheets (I used San Remo Instant Lasagna)
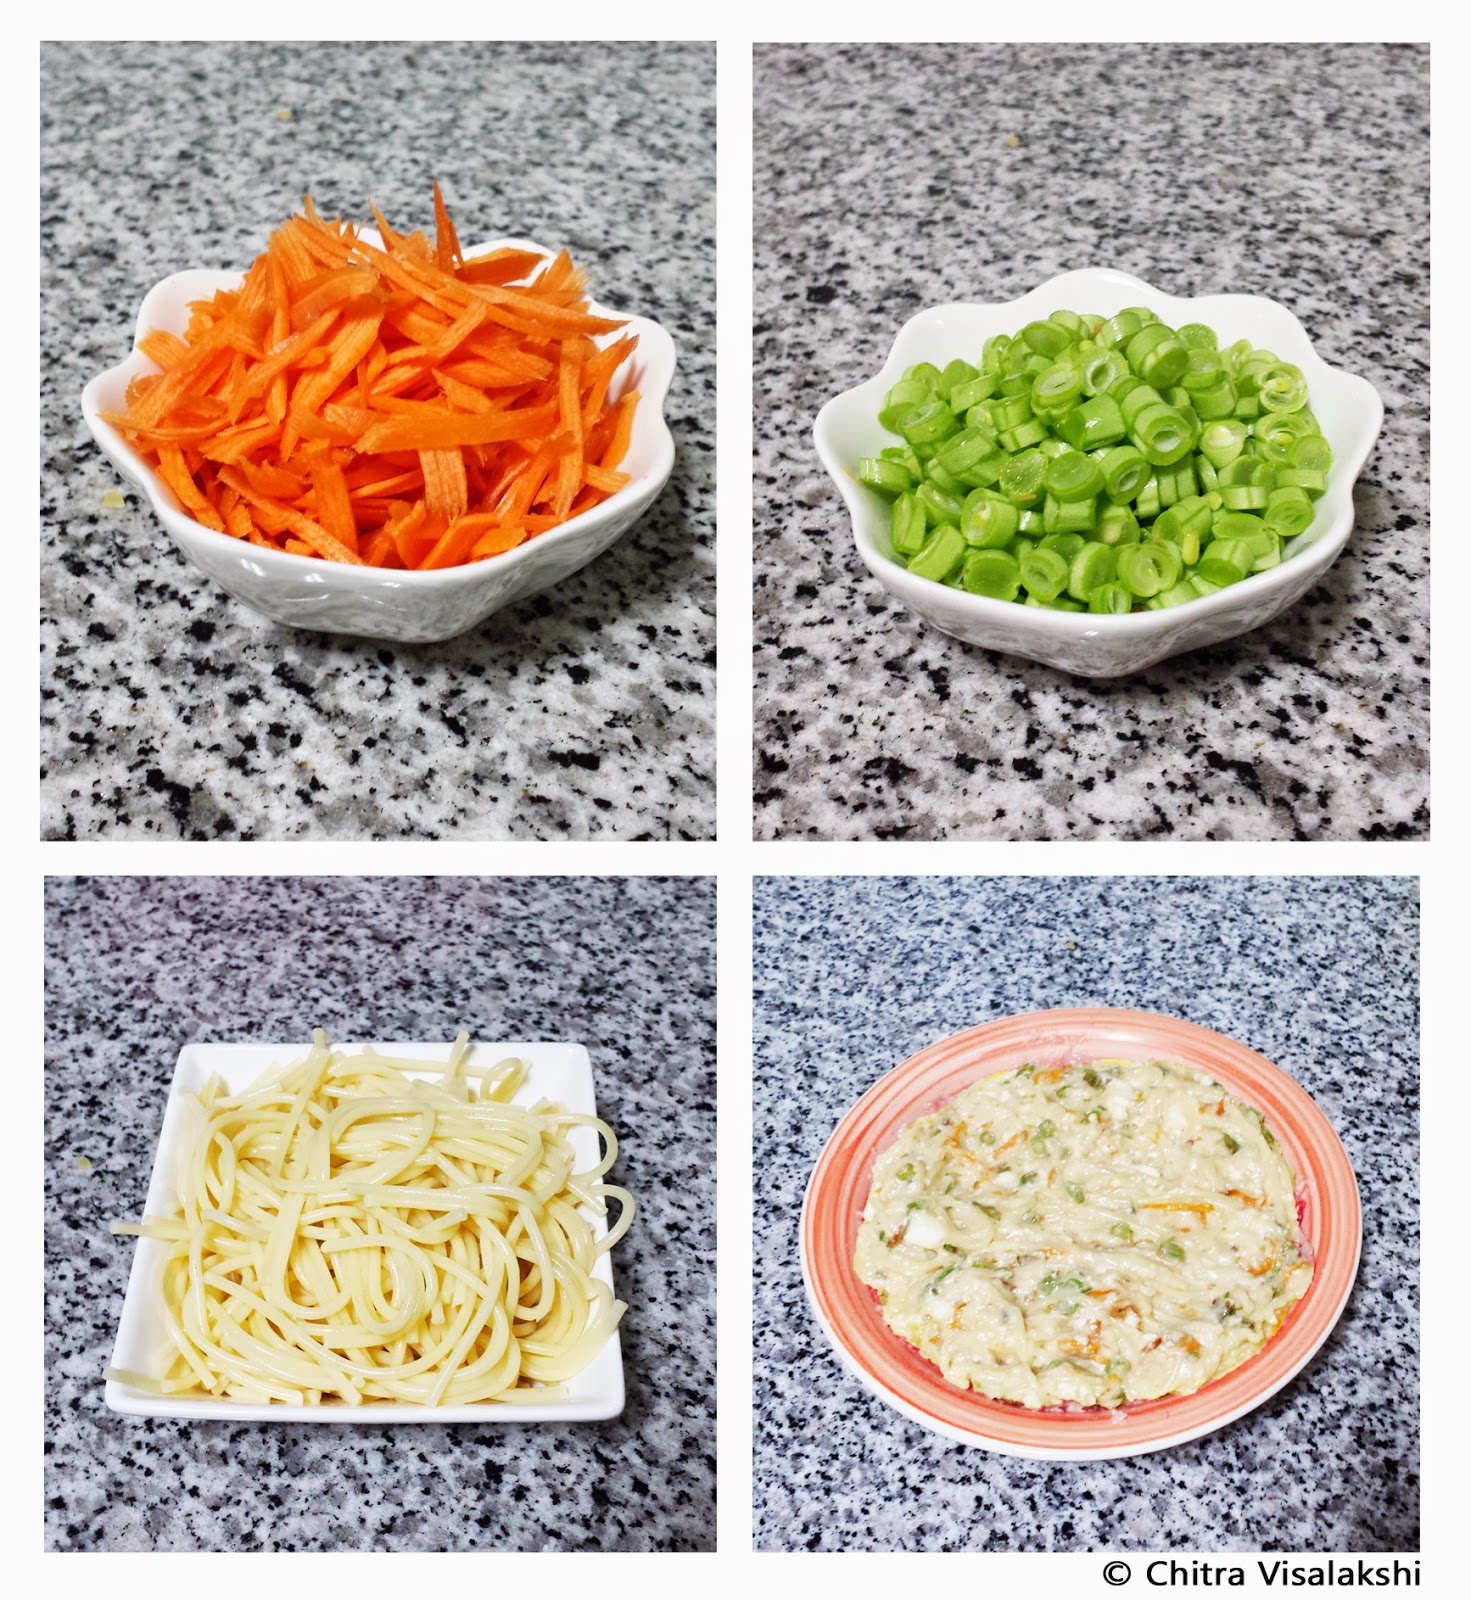
Spinach Leaves – 1 bunch (finely chopped)
Capsicum – 1 big size (finely chopped)
Carrots – 1/2 cup (grated)
Paneer – 200 gms (crumbled)
Mozzarella Cheese – 1+ 1/4 cup (grated)
Egg – 1 (optional)
Chilli flakes – 2 teaspoons
Salt and ground pepper – to taste
Pasta Sauce – 3 cups (I used Prego Traditional pasta sauce)
Parmesan Cheese – 1/4 Cup (grated)

Directions:
  • Rub little olive oil on the inside of a 9” baking pan/casserole dish. Preheat oven to 200 degrees C.
  • Cook the spinach in a pan of water for 8-10 minutes and drain.
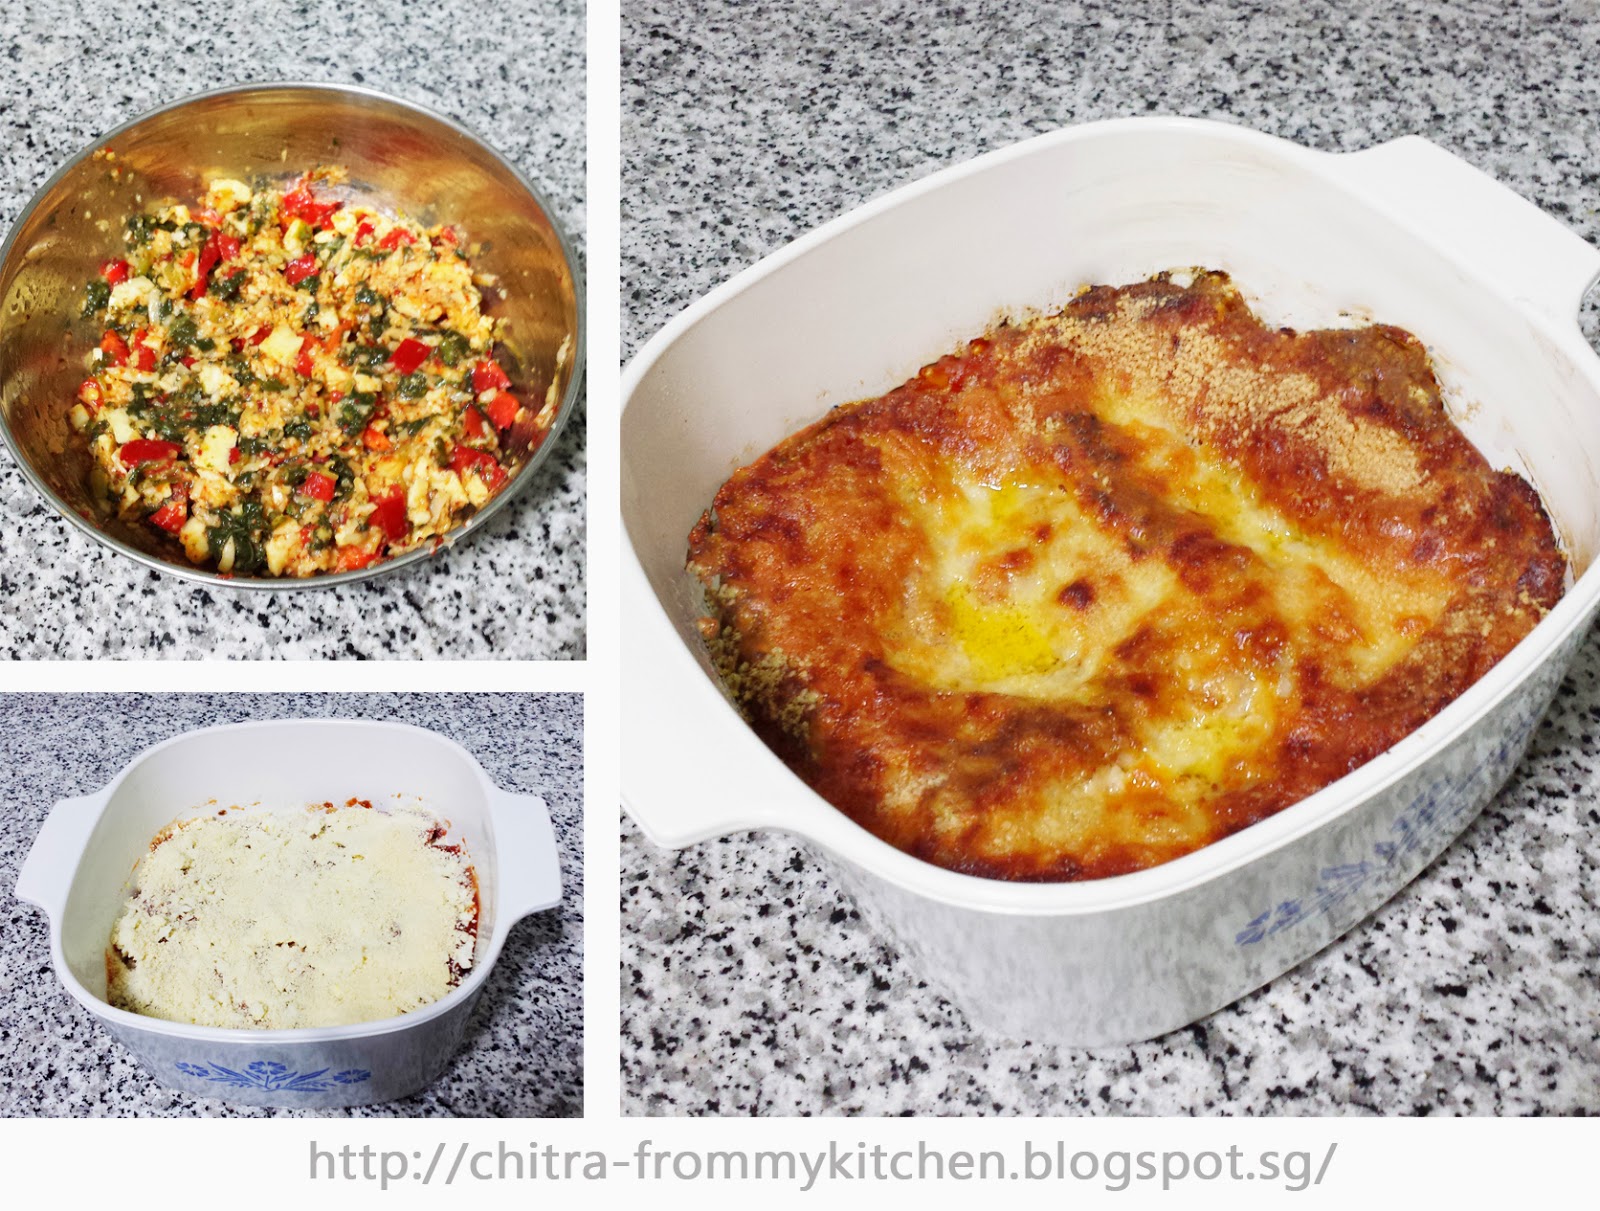
  • In a bowl, lightly beat the egg and add 1 cup of the shredded mozzarella cheese, spinach, capsicum, carrots and paneer. Add the salt, pepper and chilli flakes and mix well.
  • In the greased casserole dish, first spoon a layer of the pasta sauce and spread to cover the bottom of the casserole dish. Top with 3 strips of lasagne noodle. On top of this, spread a layer of the paneer mixture followed by a layer of pasta sauce.
  • Repeat the above layering steps for two more times using up the 9 lasagne noodles and end with a layer of pasta sauce. Be sure to coat the lasagne noodles with enough pasta sauce to help cook the noodles.
  • Sprinkle the remaining 1/4 cup of mozzarella cheese and the parmesan cheese on top. Cover the casserole with aluminium foil.
  • Bake in the preheated oven for 25 minutes. Then remove the aluminium foil and continue baking for another 15-20 minutes until lasagne is bubbling and lightly browned on the top.
  • Remove from oven and let it stand for 5 minutes. Cut into 4 or 6 portions and serve warm.

Sunday, May 11, 2014

Veggie Cheese Balls

 This is a great choice as a appetizer when your hosting a party. I made these cheese balls a few months back when we had a game night at our place. Deep fried cheese is always a hit among guests. The panner and cheese makes this a yummy appetizer, so I often make this just when we have guests over. 
The usual cheese ball recipe sounded too plain for me. So I added some spaghetti and grated veggies to give a nice texture to the otherwise rich cheese balls. The breadcrumb coating is so crispy which complements the smoothness of the cheese filling.

When we have guests over for dinner, I usually prepare the cheese balls with the bread crumb coating in the morning, store in an air-tight container and freeze it. And when the guests arrive, I just take out the prepared balls and deep fry them and serve it hot. This way it is hassle free and piping hot.

Veggie Cheese Balls:
Makes: 25 small balls

Ingredients:
Spaghetti  Pasta – 100gms (cooked and strained)
Cheese – ¼ cup (grated)
Paneer – ½ cup (crumbled)
Beans – ¼ cup (finely chopped)
Carrots – ¼ cup (grated)
Green chillies – 5 (finely chopped)
Ginger garlic paste – 1 teaspoon
Milk – 1 ½ cups
Corn flour – 2 tablespoon
Maida – 2 tablespoon + more for coating
Breadcrumbs – 1 ½ cups
Salt – 2 teaspoon (or as needed)
Oil – for frying

Directions:
  • Heat some oil in a pan.  Add the green chilies, beans, carrots and ginger garlic paste, and fry for a few minutes.
  • Then add the crumbled paneer, grated cheese and salt to the vegetables, and fry. To this, add the cooked spaghetti and mix everything together.
  • Mix the corn flour with the milk and add to the pasta and vegetable mixture. Cook until the mixture becomes thick.
  • Add 2 tblsp of maida to the mixture and mix until well incorporated. Remove from flame and let it cool down.
  • After the mixture cools down, roll into small bite sized balls.
  • In a bowl mix water and maida to form a very thin paste. In another bowl take the breadcrumbs.
  • Take the vegetable cheese ball and dip it into the maida paste and then coat it with the breadcrumbs.
  • Heat oil in a pan and deep fry the balls until golden brown. Serve hot.


Wednesday, May 7, 2014

Whole Wheat Oatmeal Rolls

Hello my dear bread bakers, this is a recipe for a healthy morning breakfast rolls.  I am always in the search of healthy breads recipe. This recipe was a great hit. So much health and goodness in one simple roll.

 This is great for the busy mornings, just slit it open and slather with a fruit spread and butter and you are good to go.


Whole Wheat Oatmeal Rolls
Makes: 15 rolls
Ingredients:
1 Cup – all purpose flour
3 ½ cups – whole wheat flour
1 cup – rolled oats
2 cups – water
3 tablespoon – Butter
1 tablespoon – instant yeast
1/3 cup – honey
1 ½ teaspoon – salt
1 egg + 1 tablespoon water – for egg wash (Can use milk instead of egg)
Rolled oats for sprinkling

Directions:
  • In a pan, boil 1 cup of water. Add the oats and butter to the water and cook for 1 minute. Remove from heat and set it aside to cool.
  • Take 1 cup of warm water, along with the yeast and honey. To this add the cooled oat mixture, salt and all purpose flour, beat until smooth.
  • To this mixture slowly add the whole wheat flour to form soft dough.
  • On a floured surface, knead the dough for about 6-8 minutes, until smooth and elastic, add more whole wheat flour if needed.
  • Place the kneaded dough in a greased bowl, cover with a damp cloth and let it rise to double for about 1-2 hours.
  • After rising, punch the dough down and let it rest for another 10 minutes.
  • Divide into 15 equal portions and roll into a ball. Place in 1 or 2 greased pans.
  • Cover with damp cloth and let it rise for another 45 mintues.
  • Before placing into oven, brush the dough tops with the egg wash or plain milk, and sprinkle with the oats.
  • Bake at 180° for 20-25 minutes or until golden brown. Remove from pan and let it cool.


Friday, April 4, 2014

5-Minute Chocolate Oatmeal

Hey chocolate lovers!!! Here is an excuse to have chocolate for breakfast! This super quick oatmeal recipe for those boring weekday morning! 
To be fair I hate oatmeal. I have no idea how anyone would eat soggy oatmeal every morning. But I wanted a healthy alternative for the sugary cereal breakfast options. So I did a search for interesting oatmeal recipe and came across this chocolate oatmeal recipe at chocolatecoveredkatie.com. She has all these amazing low-cal dessert recipes.
So for your next breakfast, whip up some oatmeal with chocolate! YUM! 
PS: Always use the best quality cocoa available to get a really great end product!

5-Minute Chocolate Oatmeal
Yields: 1 serving

Ingredients:
  • Rolled Oats – 40grams
  • Milk – ¾ cup
  • Banana – 1
  • Cocoa Powder – 1 ½ Tablespoon
  • Sugar/Unrefined cane sugar/honey – 1 tablespoon
  • Salt – a pinch
  • Vanilla Extract – ¼ teaspoon

Directions:
  • Combine all the ingredients in a pan, and cook for 5-7 minutes over medium heat.
  • Keep stirring until cooked.

Tuesday, January 7, 2014

Chocolate Avocado Mousse

Here is a guilt free recipe for your chocolate indulgences. I have been saving up some avocado recipes for a while now. Finally this weekend, I found some beautiful ripe avocados in the market. So I decided to try out this super simple recipe from kirantarun.com. She posts some amazing recipes with inspiring photos.


The mousse turned up super delicious, so rich and creamy without all that fattening stuff. For a bit of crunch add a sprinkle of crushed pistachios on top.


Chocolate Avocado Mousse:
Yields: 2 servings

Ingredients:
  • 2 – Ripe Avocados
  • 115 grams – Baking chocolate
  • 2 tablespoon – Oil (I used sunflower oil)
  • 1 tablespoon – Honey
  • 1 tablespoon – Instant Coffee
  • A pinch of salt
  • Crushed pistachios for garnish

Directions:
  • Mix the chocolate, oil, honey and instant coffee in a microwave safe bowl.
  • Microwave this on high for 30-45 seconds, stirring in intervals. Just until the chocolate is melted. Be careful so as not to burn the chocolate. Remove from heat and give it a good mix.
  • Remove the avocado pulp from the outer shell and mash it well.
  • Add the melted chocolate and the salt to the mashed avocado and mix well until everything is smooth and creamy.
  • Chill for a couple of hours. Serve chilled, topped with crushed pistachios or cashews.